Backstory: Meta(formerly Facebook) spent many years trying to build for the web3/Blockchain space. After long regulatory battles Meta ultimately gave up for the time being but what was left was a beautifully designed system known as Diem and a safe, easy-to-use language built specifically for blockchain - Move.
Enter Aptos
Many of the engineers that help build the codebase did not just want to leave the work that was done and after Meta announced it would no longer be going ahead with the project, the builders decided to build their own network. In their words:
A Layer 1 for everyone - Building the safest and most scalable Layer 1 blockchain.
The ecosystem is growing fast with multiple projects building using the Diem/Move codebase. This includes:
- 0L(Open Libra) - A unique economic experiment not backed by VC’s and instead built by a community of dedicated individuals.
- Mysten Labs - Other previous Meta employees who have built Sui and are bringing Move, along with Technologies like Narwhal and Tusk to projects like Celo and Sommelier
- Pontem - The Experimentation Platform for Diem Blockchain Technology built around the Polkadot network
Introduction
This article intends to show how easy it is to build a client-facing React project using the Aptos API. This is by no means an end product and development is happening daily that will likely make this obsolete very quickly. If this helps at least a few people get exposed to this new ecosystem and project it served its purpose. Subsequent articles will follow the journey and dive deeper into writing and using the Move language to build applications.
Repo: Aptos Faucet
Creating the React App
npx create-react-app aptos-faucet --template typescript
Folder Structure
my-app/
  README.md
  node_modules/
  package.json
  public/
    index.html
    favicon.ico
  src/
    App.css
    App.js
    App.test.js
    index.css
    index.js
    logo.svg
This will build a base React App we can work with. There are essentially minimal changes that need to be made so we will break them up into three categories:
- UI changes
- UI logic
- Connecting to the Aptos API and handling the connections in the client
UI Changes
Most of these changes can be done in the App.tsx file in the projects /src folder
Before
import React from 'react';
import logo from './logo.svg';
import './App.css';

function App() {
  return (
    <div className="App">
      <header className="App-header">
        <img src={logo} className="App-logo" alt="logo" />
        <p>
          Edit <code>src/App.tsx</code> and save to reload.
        </p>
        <a
          className="App-link"
          href="https://reactjs.org"
          target="_blank"
          rel="noopener noreferrer"
        >
          Learn React
        </a>
      </header>
    </div>
  );
}

export default App;
- Change the logo to a nice faucet design and remove css
- Change logo.jpg file in /src
- Remove CSS - here and here
- Import modules for UI and Aptos logo
- Add additional UI code
- Adjust CSS
UI Logic
We then need to make sure the appropriate logic is in place to handle the buttons and modals associated with the UI changes.
Connecting to the Aptos API
The code and examples mostly come from the Aptos tutorials.
- Add an accounts.ts file in a new /src/ts folder to use to interact with the Aptos API
- Connect this with the UI
- Add wallet state
Using Your New Faucet Application
Create a New Account
You can create a new account by clicking the ‘CREATE ACCOUNT’ button. This will provide you with an address, public key, auth key and private key.
Note: The account will not be stored on the Aptos blockchain untill it recieves funds and interacts with it.
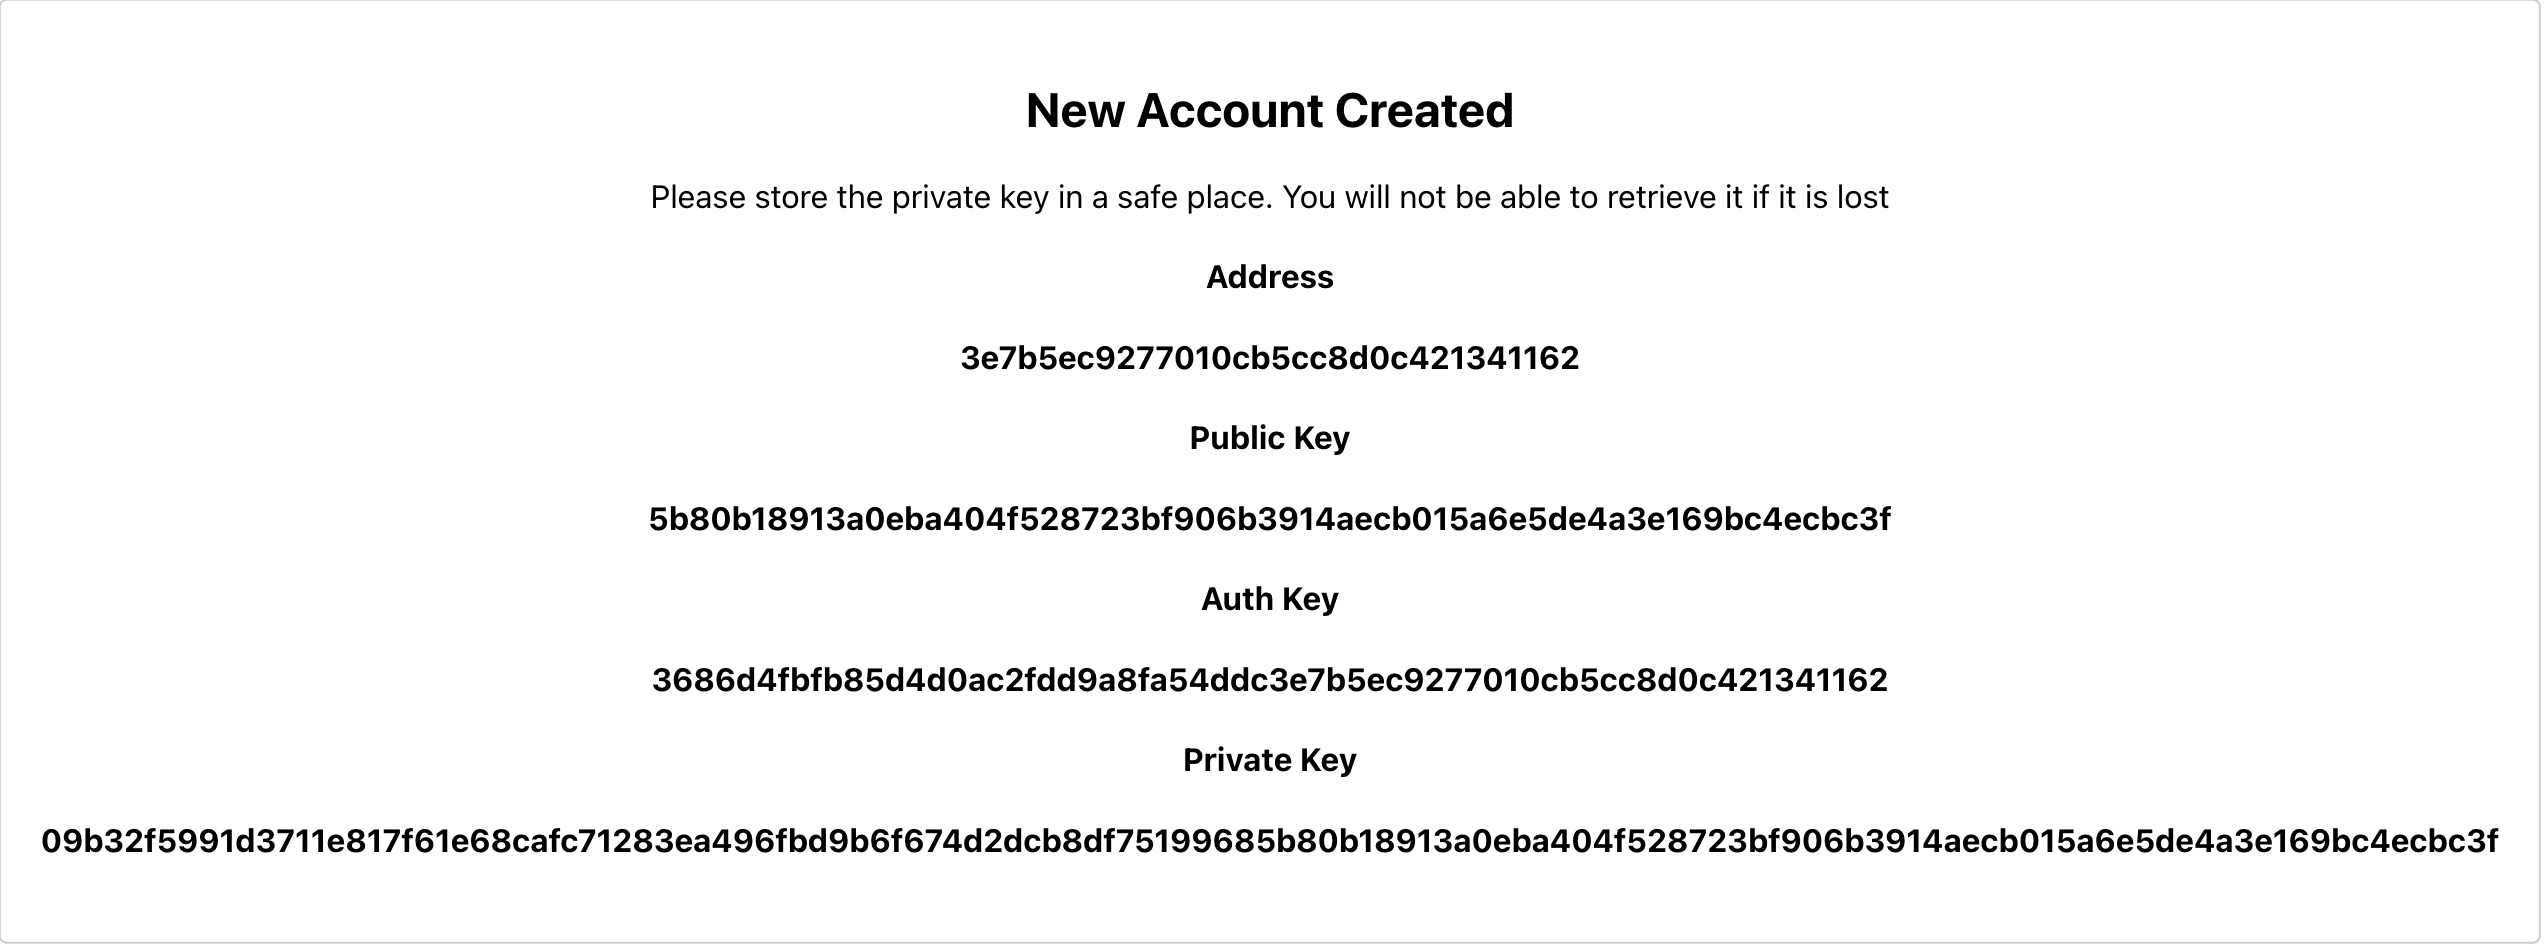
New Account - be sure to save this somewhere safe
Fund your new Account
You can now fund this new Account by clicking ‘FUND ACCOUNT’. The last created account will be used by default but you can change it to your address of choice if needed. Enter the amount and click ‘GET FUNDS’. Voila you now have an account on the Aptos Devnet.
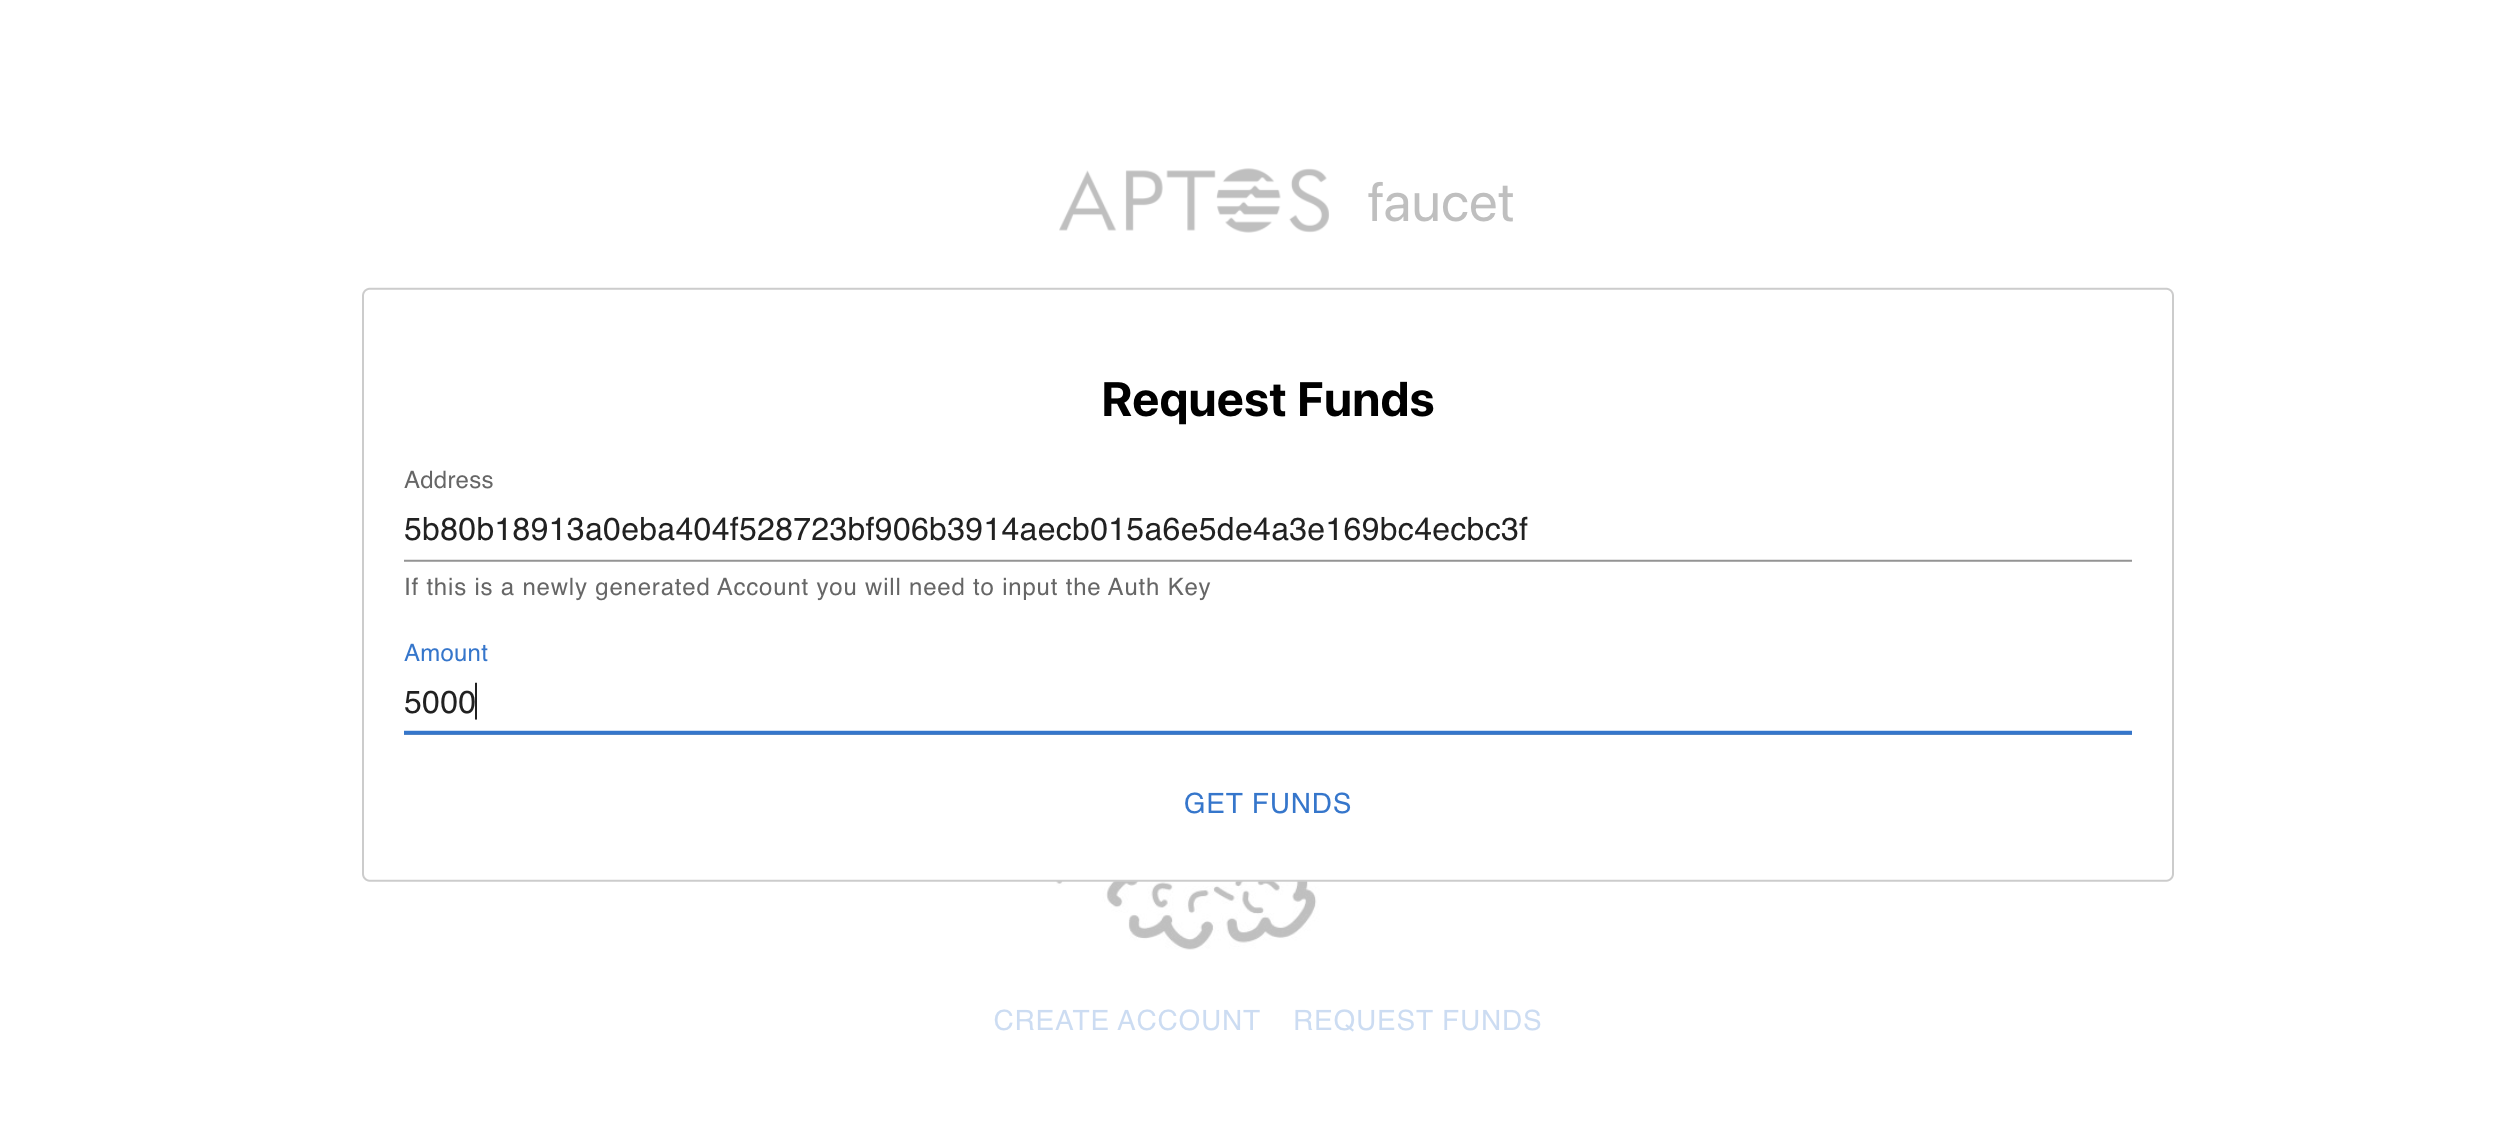
Fund your new Account
Hopefully this gives you the push you need to get involved at dive deeper. You can follow my journey as I post about my journey becoming a psuedononymous developer on Mirror or Twitter.