Hello everyone, today I will guide you thorough how to run an Aptos Validator Node to join AIT3.
https://aptos.dev/nodes/ait/ait-3

I suggest we rent a VPS (Virtual Private Sever). I choose Contabo because it’s cheap with the hardware that event requires as you can see below:

Sever Requirements

Go to https://geni.us/contabo and Choose the Cloud VPS L as below:

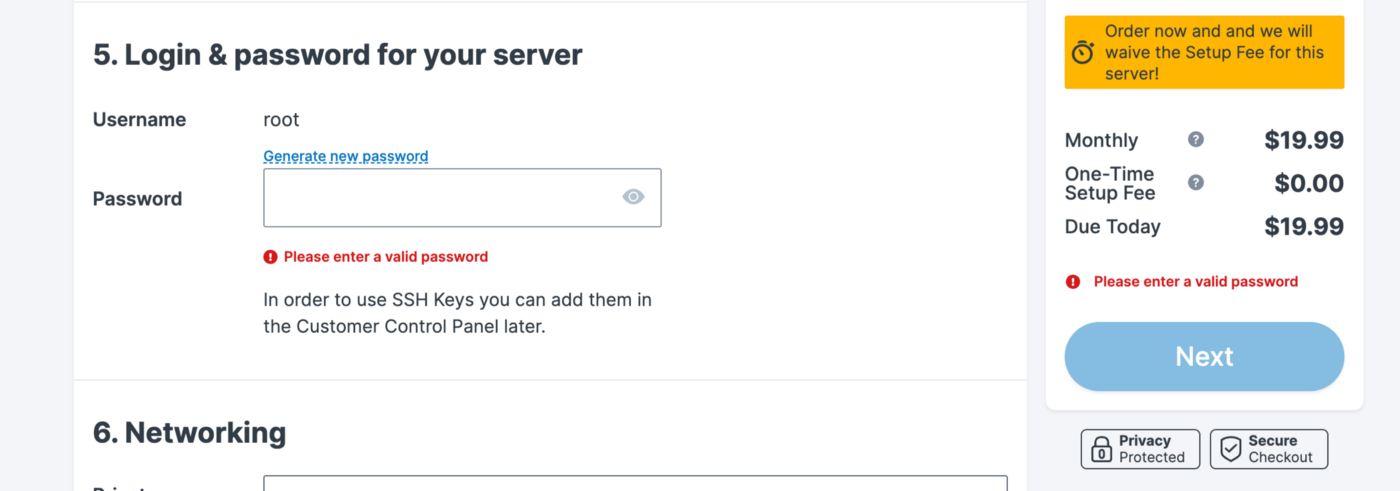
Fill out the password and hit Next
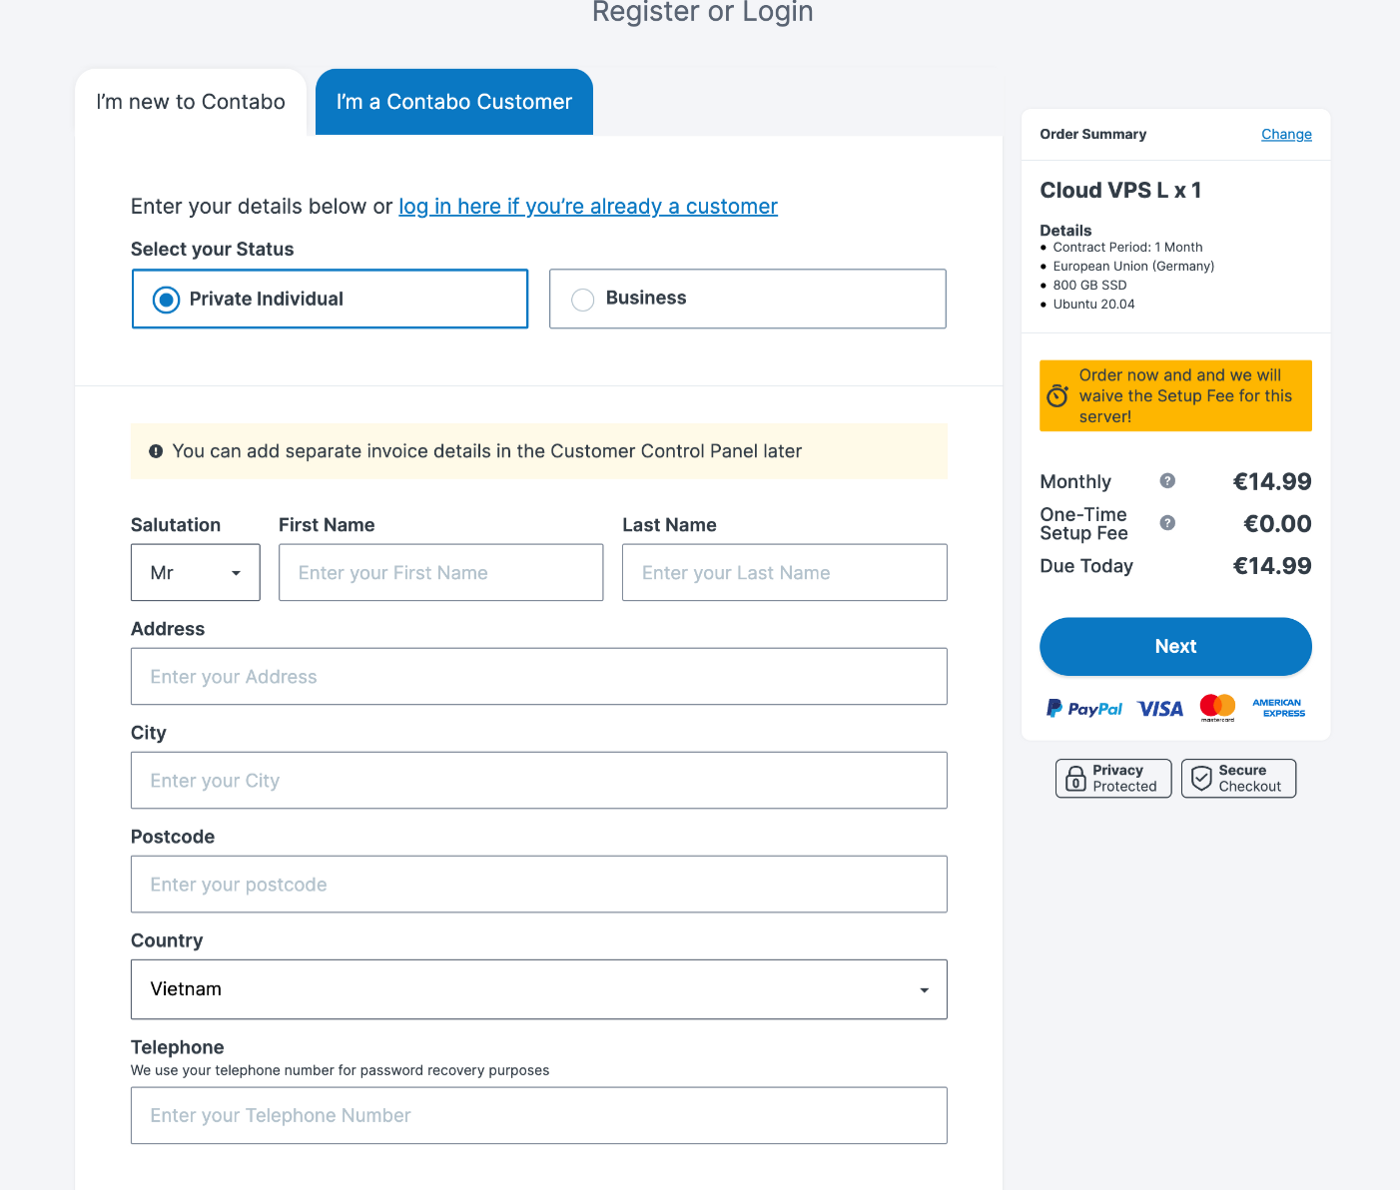
If you are new to Contabo you can create new account by filling the info or you can change to tab “I’m a Contabo Customer to login and hit Next
Then hit Oder & Pay
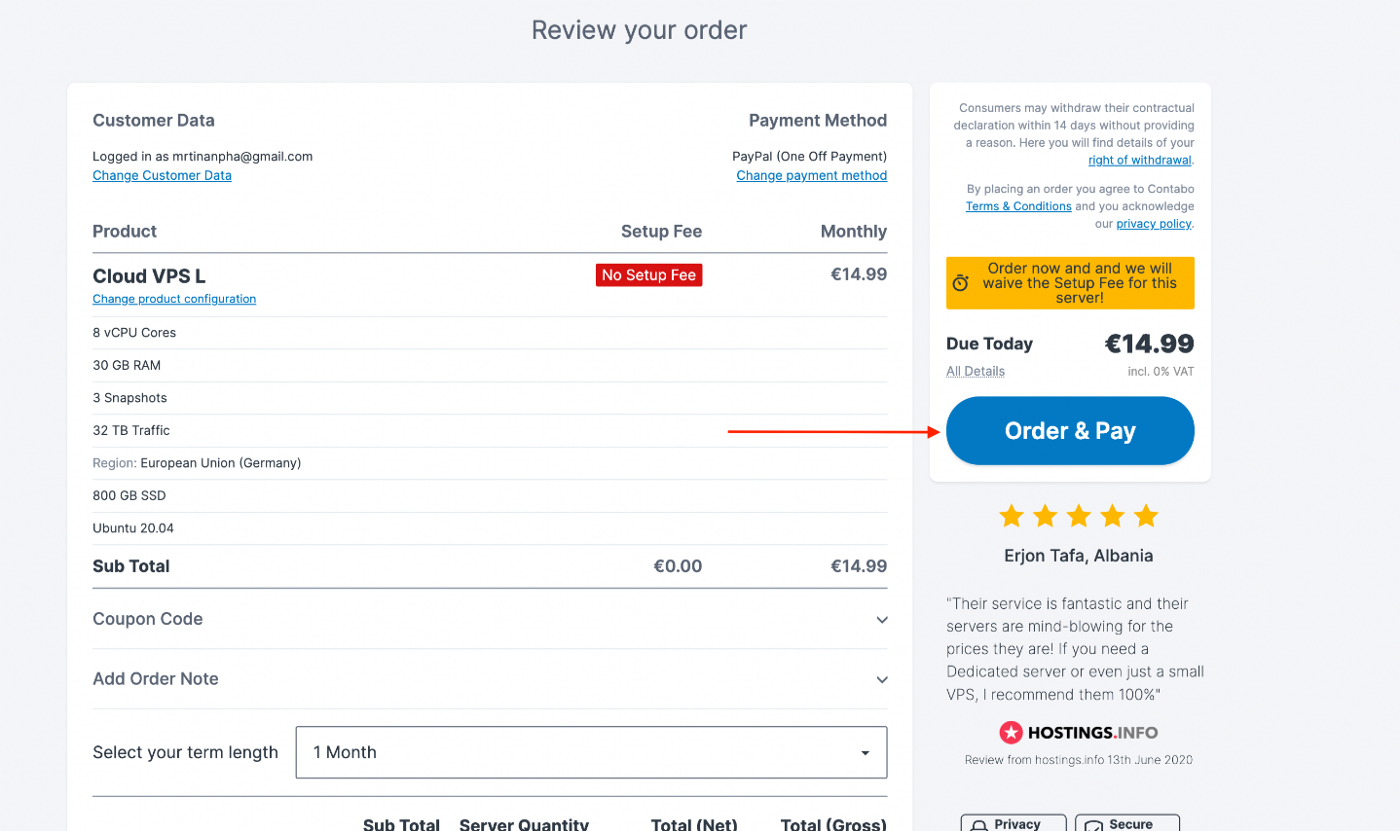
Then wait for Contabo to send you the login info in you email

Get the IP address and with the password you have just filled above, we are ready to go

Now connect to your VPS using terminal (if you use MacOS) or use Window Terminal if you use WindowOS with this command:
ssh root@[your IP address]
My Exp:
ssh root@38.242.153.47

Type “yes” then Paste your Password (Remember the password does not show up) and enter
Now you are connected to the VPS:

Update your VPS Sever:
sudo apt update && sudo apt upgrade -y

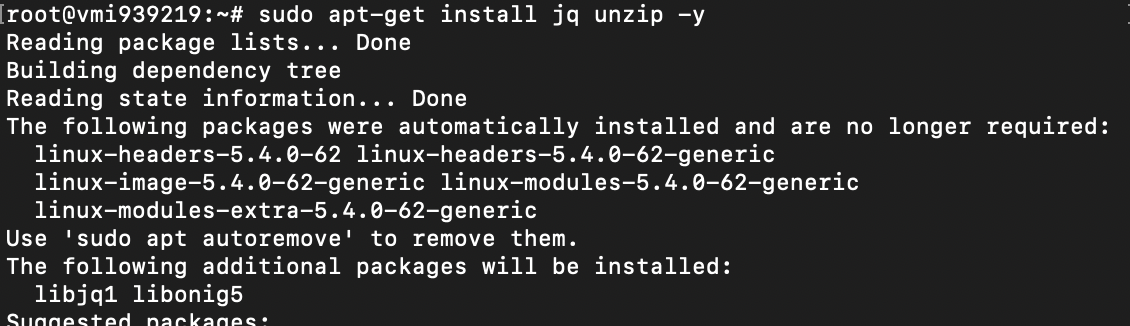
Intall dependencies:
sudo apt-get install jq unzip -y
In this tutorial I will use Docker.
Install Docker
sudo apt-get install ca-certificates curl gnupg lsb-release wget -y
curl -fsSL https://download.docker.com/linux/ubuntu/gpg | sudo gpg --dearmor -o /usr/share/keyrings/docker-archive-keyring.gpg
echo "deb [arch=$(dpkg --print-architecture) signed-by=/usr/share/keyrings/docker-archive-keyring.gpg] https://download.docker.com/linux/ubuntu $(lsb_release -cs) stable" | sudo tee /etc/apt/sources.list.d/docker.list > /dev/null
sudo apt-get update
sudo apt-get install docker-ce docker-ce-cli containerd.io -y
Install docker-compose
mkdir -p ~/.docker/cli-plugins/
curl -SL https://github.com/docker/compose/releases/download/v2.6.1/docker-compose-linux-x86_64 -o ~/.docker/cli-plugins/docker-compose
chmod +x ~/.docker/cli-plugins/docker-compose
sudo chown $USER /var/run/docker.sock
Install Aptos-CLI
wget -qO aptos-cli.zip https://github.com/aptos-labs/aptos-core/releases/download/aptos-cli-v0.3.1/aptos-cli-0.3.1-Ubuntu-x86_64.zip
unzip aptos-cli.zip -d /usr/local/bin
chmod +x /usr/local/bin/aptos
rm aptos-cli.zip
Create a directory for your Aptos node composition, and pick a username for your node. e.g.
export WORKSPACE=testnet export USERNAME=tinanpha mkdir ~/$WORKSPACE cd ~/$WORKSPACE
Download the validator.yaml and docker-compose.yaml configuration files into this directory.
wget https://raw.githubusercontent.com/aptos-labs/aptos-core/main/docker/compose/aptos-node/docker-compose.yaml wget https://raw.githubusercontent.com/aptos-labs/aptos-core/main/docker/compose/aptos-node/validator.yaml
Generate the key pairs (node owner, voter, operator key, consensus key and networking key) in your working directory.
aptos genesis generate-keys --output-dir ~/$WORKSPACE/keys
This will create 4 key files under ~/$WORKSPACE/keys directory:
-
public-keys.yaml
-
private-keys.yaml
-
validator-identity.yaml, and
-
validator-full-node-identity.yaml.
Backup your private key files somewhere safe. These key files are important for you to establish ownership of your node. Never share private keys with anyone.
OPEN PORT
apt install ufw -y ufw allow ssh ufw allow https ufw allow http ufw allow 6180 ufw allow 80 ufw allow 9101 ufw allow 181 ufw allow 182 ufw allow 8080 ufw allow 9103 ufw enable
Configure validator information. You need to setup a static IP / DNS address (DNS is much preferred) which can be used by the node, and make sure the network / firewalls are properly configured to accept external connections.
Replace <Your VPS Ip> with yours
    cd ~/$WORKSPACE
    aptos genesis set-validator-configuration \
        --local-repository-dir ~/$WORKSPACE \
        --username $USERNAME \
        --owner-public-identity-file ~/$WORKSPACE/keys/public-keys.yaml \
        --validator-host <Your VPS Ip>:6180 \
        --stake-amount 100000000000000
Example:
    cd ~/$WORKSPACE
    aptos genesis set-validator-configuration \
        --local-repository-dir ~/$WORKSPACE \
        --username $USERNAME \
        --owner-public-identity-file ~/$WORKSPACE/keys/public-keys.yaml \
        --validator-host 192.168.0.1:6180 \
        --stake-amount 100000000000000
This will create two YAML files in the ~/$WORKSPACE/$USERNAME directory: owner.yaml and operator.yaml.
Create a layout template file, which defines the node in the Aptos validatorSet.
aptos genesis generate-layout-template --output-file ~/$WORKSPACE/layout.yaml
Edit the layout.yaml, add the root_key, the Validator node username, and chain_id:
sudo nano layout.yaml
Replace your username. Please make sure you use the same root public key as shown in the example and same chain ID, those config will be used during registration to verify your node.
    root_key: "D04470F43AB6AEAA4EB616B72128881EEF77346F2075FFE68E14BA7DEBD8095E"
    users: ["<username you specified from previous step>"]
    chain_id: 43
    allow_new_validators: false
    epoch_duration_secs: 7200
    is_test: true
    min_stake: 100000000000000
    min_voting_threshold: 100000000000000
    max_stake: 100000000000000000
    recurring_lockup_duration_secs: 86400
    required_proposer_stake: 100000000000000
    rewards_apy_percentage: 10
    voting_duration_secs: 43200
    voting_power_increase_limit: 20
Download the AptosFramework Move package into the ~/$WORKSPACE directory as framework.mrb
wget [https://github.com/aptos-labs/aptos-core/releases/download/aptos-framework-v0.3.0/framework.mrb](https://github.com/aptos-labs/aptos-core/releases/download/aptos-framework-v0.3.0/framework.mrb)
Compile genesis blob and waypoint
aptos genesis generate-genesis --local-repository-dir ~/$WORKSPACE --output-dir ~/$WORKSPACE
This will create two files in your working directory, genesis.blob and waypoint.txt.
Start your local Validator by running the below command:
docker compose up
After it is running you can close the terminal (not Ctrl + C)
And that is.
Now you can continue to complete the remaining steps to finish registration.
After you close the terminal, open it and connect to VPS again.
Read this file to fill the form:
cat /root/testnet/keys/public-keys.yaml
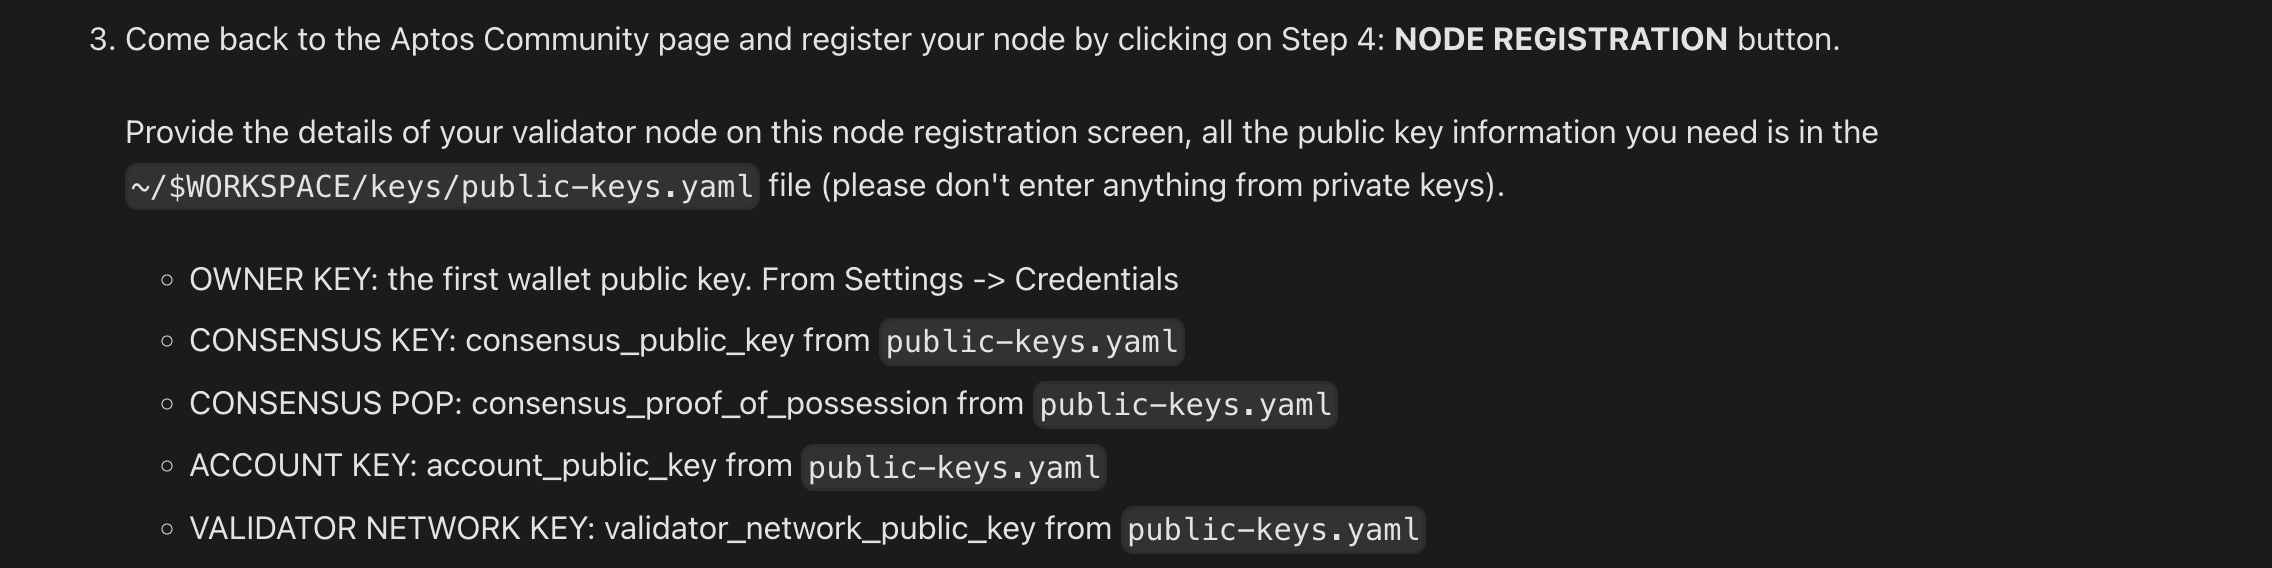
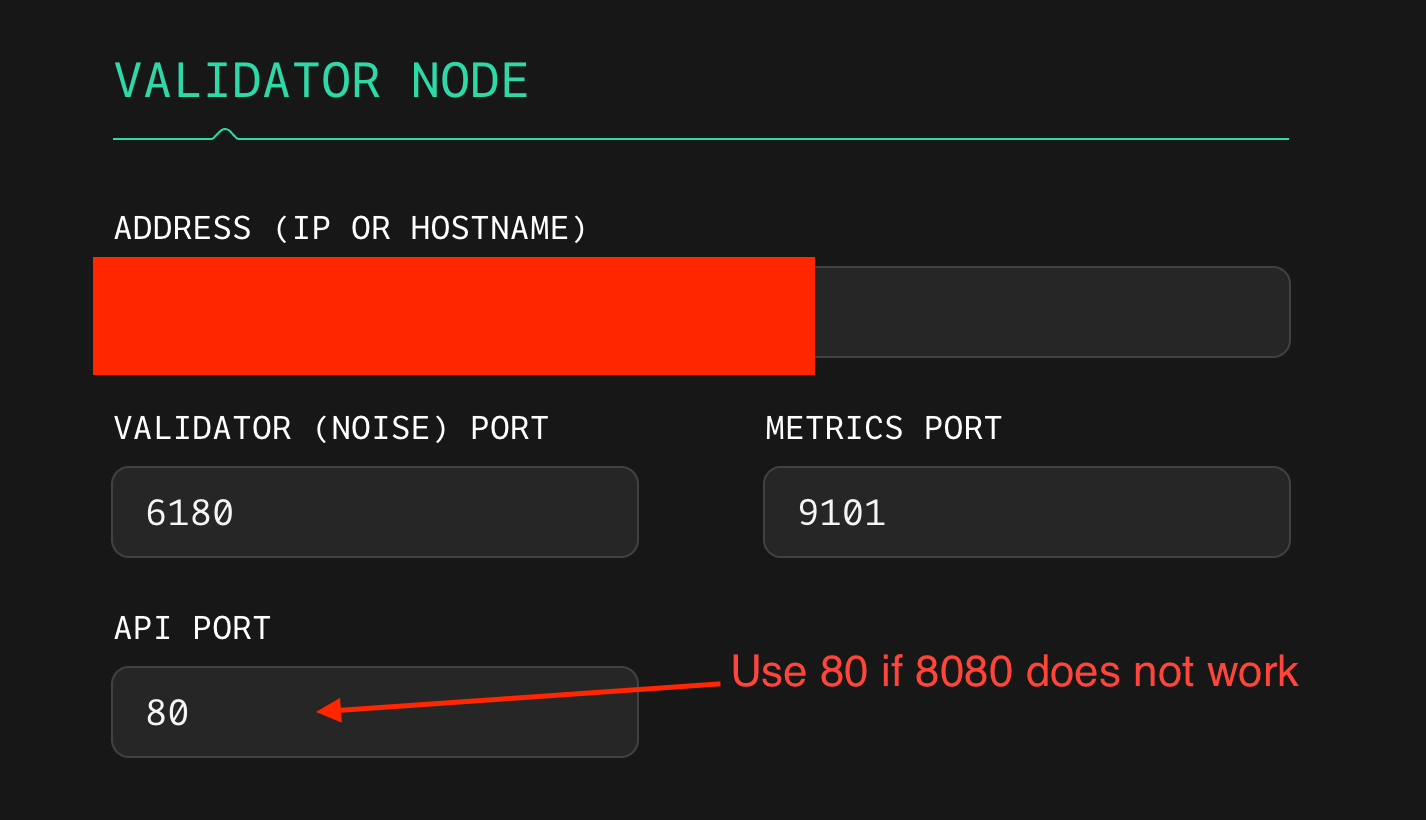
If you fill the form and the port 8080 does not work, you can change it to 80.
Check your node here: https://node.aptos.zvalid.com/
To check logs:
docker logs testnet-validator-1 -f
To exit logs (just close the terminal ) do not Ctrl + C or your node will stop, then you have start it again. Check how to start, stop node below
To stop the node:
-
check the container ID using this command:
docker ps -a -
stop the node:
docker stop <ID> -
start the node:
docker start <ID>