Hey guys, welcome back to Tin Anpha. Today I will guide you thorough how to run an Aptos FullNode using Docker.
Disclaimer: This is just tutorial help, not financial advice. Please do your own research before making any investment.
VIDEO GUIDE:
https://aptos.dev/nodes/full-node/fullnode-source-code-or-docker
These days people use Docker pretty much because it’s fast, it can run in any OS, it likes when you run a snapshot and you will have everything there,.. ready to play with the app.

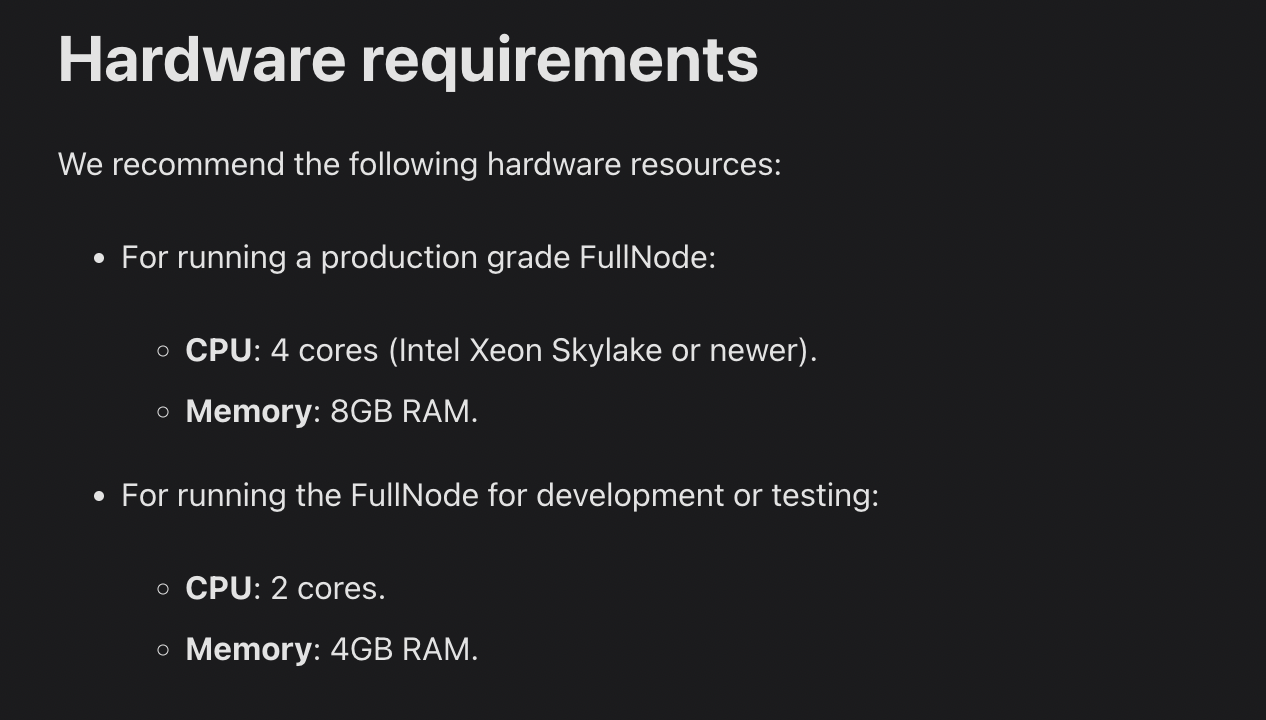
I suggest we rent a VPS (Virtual Private Sever) because we have to keep it running 24/7. I choose Contabo because it’s cheap with the hardware that event requires as you can see below:

Sever Requirements
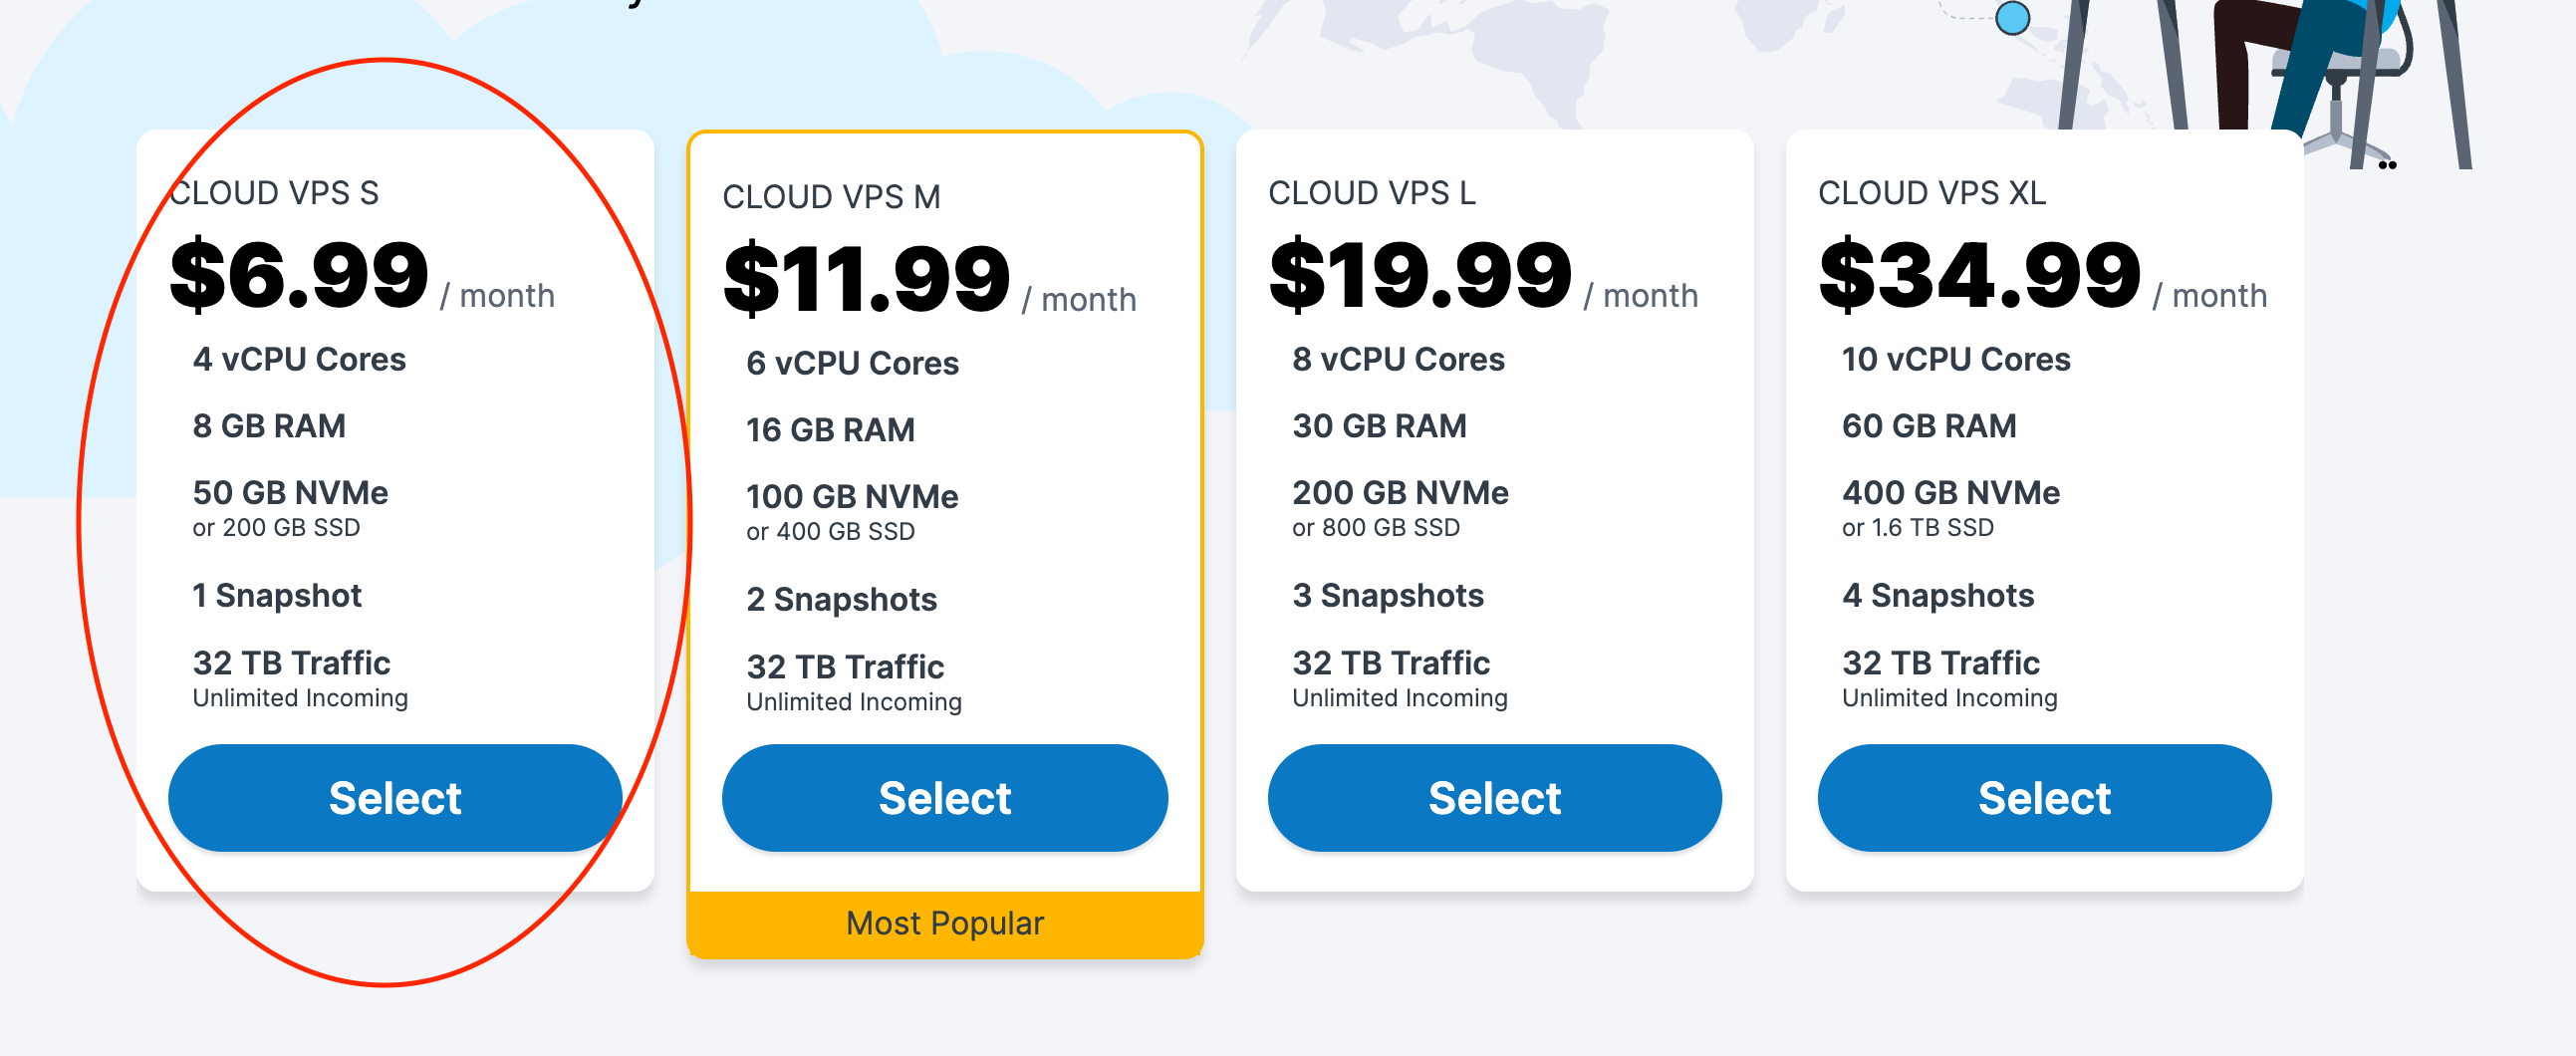
Go to https://geni.us/contabo and Choose the Cloud VPS S as below:
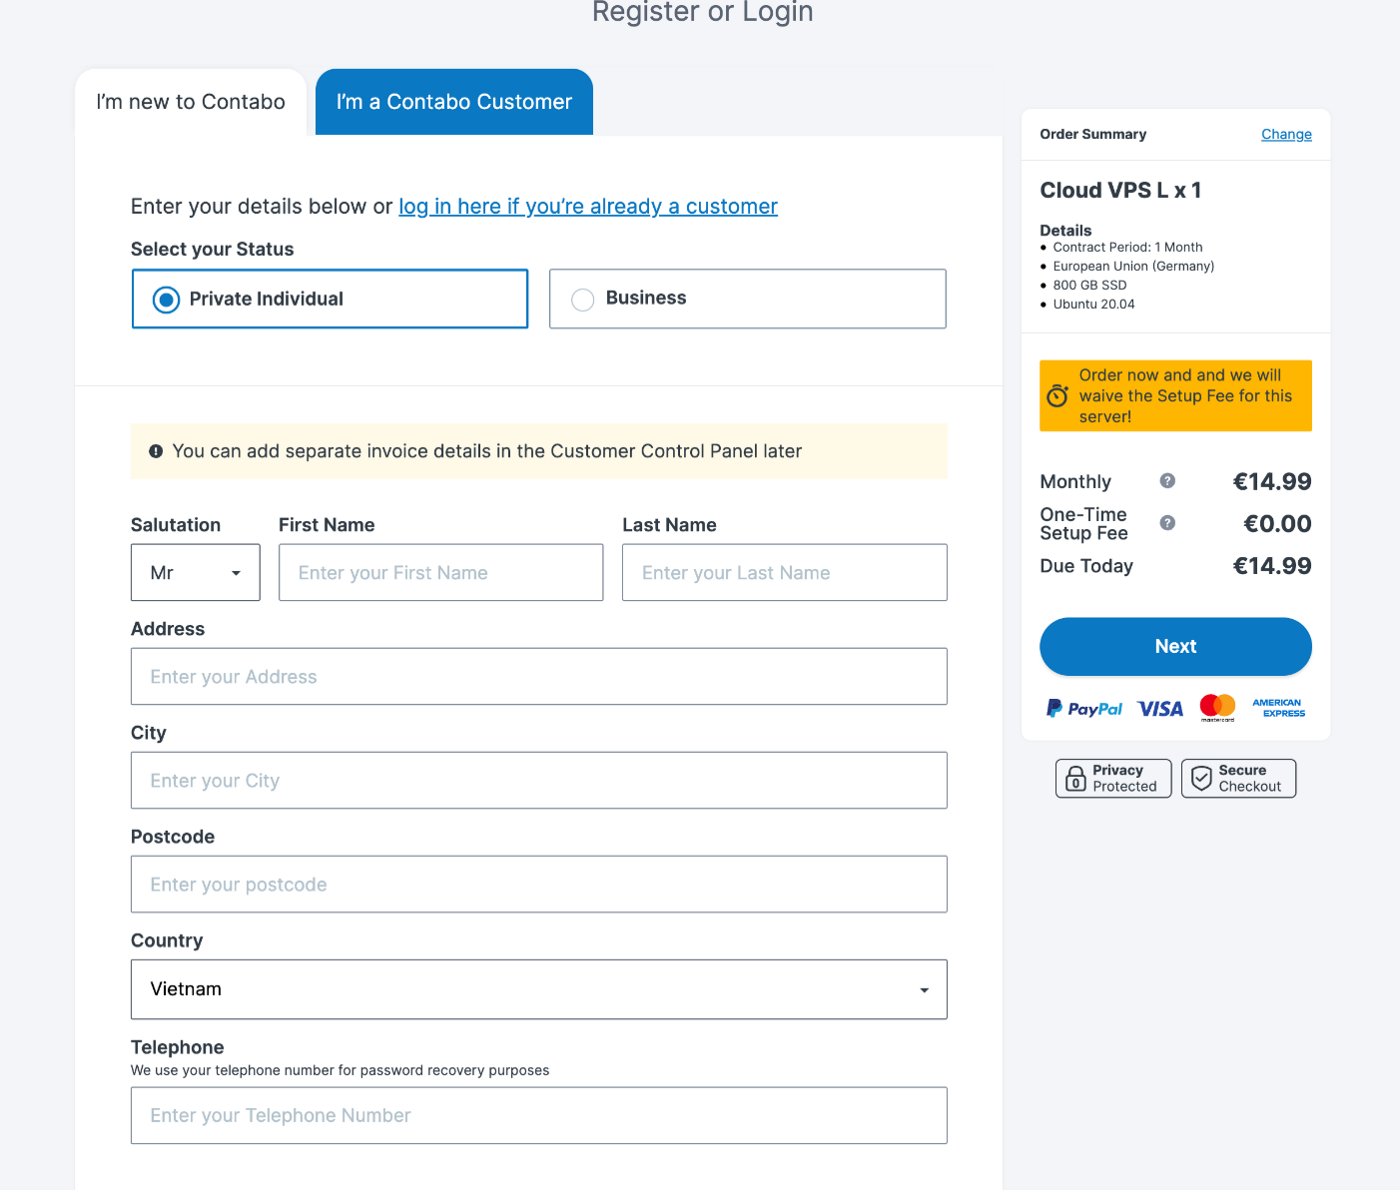
Fill out the password and hit Next

If you are new to Contabo you can create new account by filling the info or you can change to tab “I’m a Contabo Customer to login and hit Next
Then hit Oder & Pay
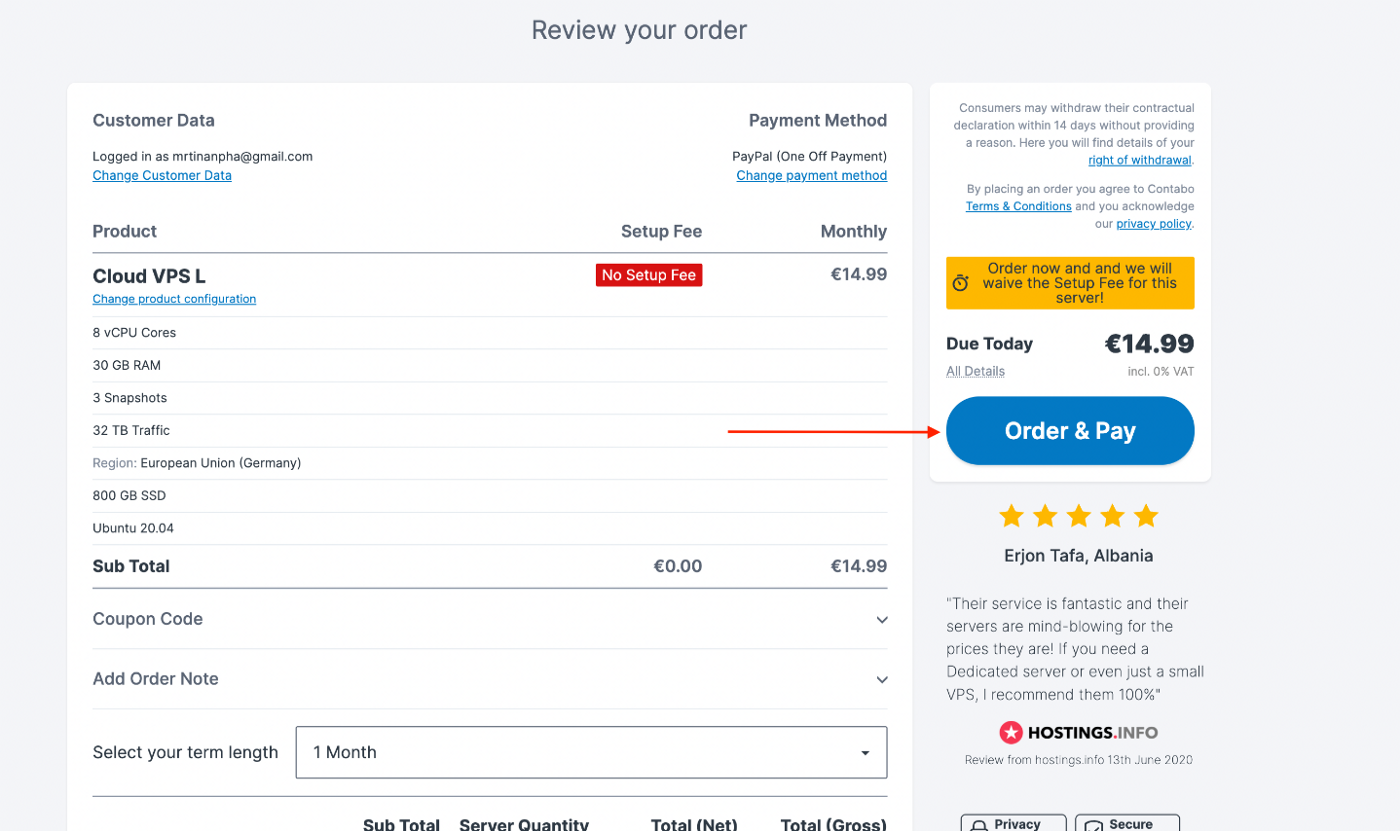
Then wait for Contabo to send you the login info in you email

Get the IP address and with the password you have just filled above, we are ready to go
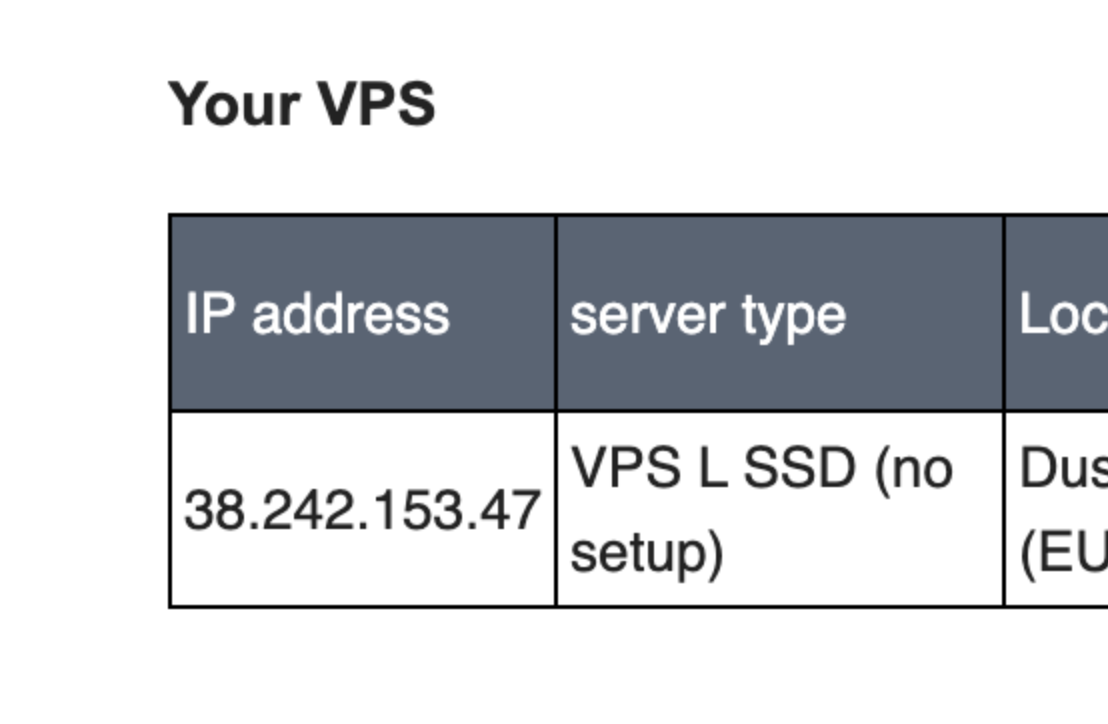
Now connect to your VPS using terminal (if you use MacOS) or use Window Terminal if you use WindowOS with this command:
ssh root@[your IP address]
My Exp:
ssh root@38.242.153.47

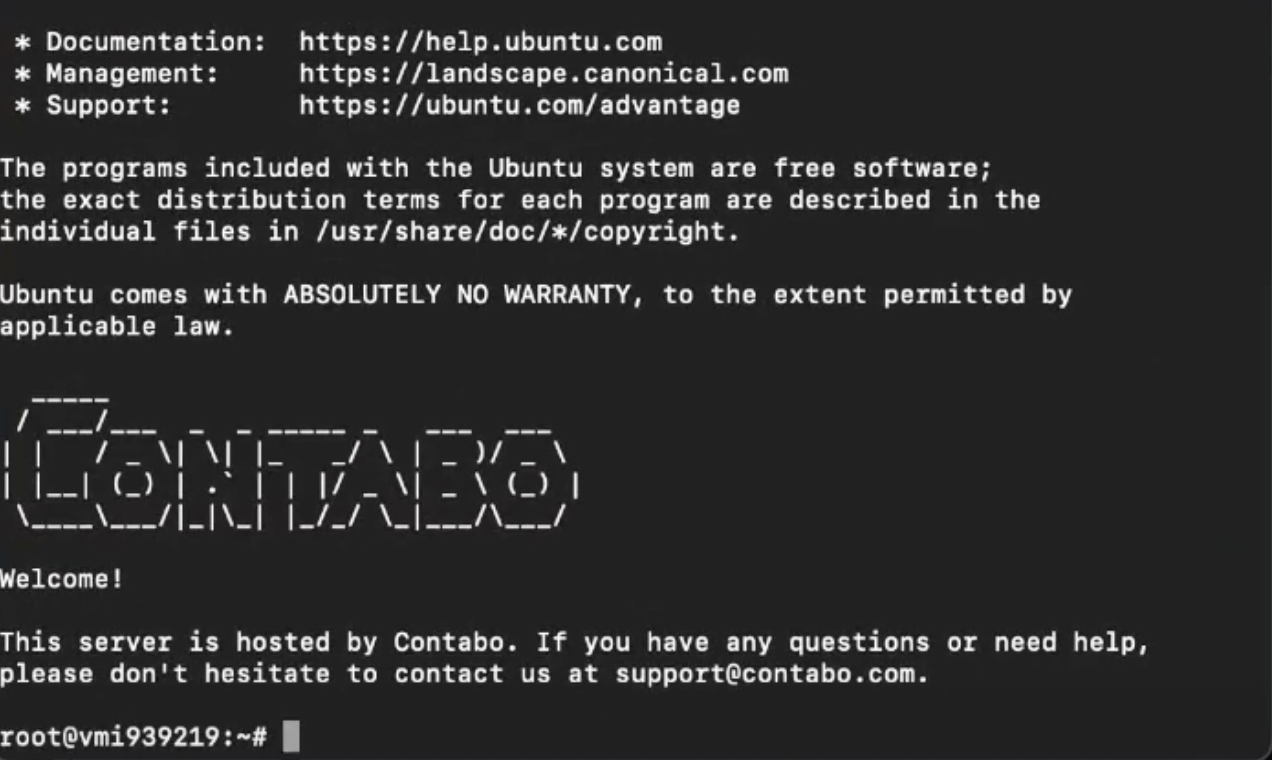
Type “yes” then Paste your Password (Remember the password does not show up) and enter
Now you are connected to the VPS:
Update your VPS Sever:
sudo apt update && sudo apt upgrade -y

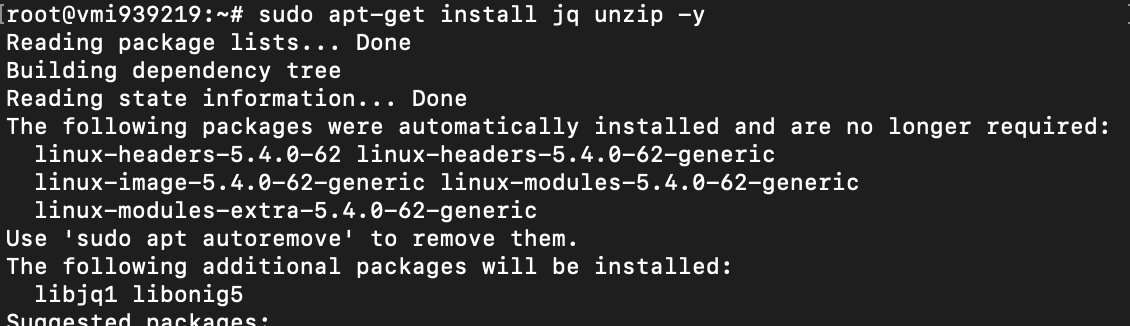
Intall dependencies:
sudo apt-get install jq unzip -y
Install Docker
    sudo apt-get install ca-certificates curl gnupg lsb-release wget -y

    curl -fsSL https://download.docker.com/linux/ubuntu/gpg | sudo gpg --dearmor -o /usr/share/keyrings/docker-archive-keyring.gpg

    echo "deb [arch=$(dpkg --print-architecture) signed-by=/usr/share/keyrings/docker-archive-keyring.gpg] https://download.docker.com/linux/ubuntu $(lsb_release -cs) stable" | sudo tee /etc/apt/sources.list.d/docker.list > /dev/null

    sudo apt-get update

    sudo apt-get install docker-ce docker-ce-cli containerd.io -y
Create a directory for your local public FullNode, and cd into it.
mkdir aptos-fullnode && cd aptos-fullnode
Run the following script to prepare your local config and data dir for DevNet:
    mkdir data && \
    curl -O [https://raw.githubusercontent.com/aptos-labs/aptos-core/devnet/config/src/config/test_data/public_full_node.yaml](https://raw.githubusercontent.com/aptos-labs/aptos-core/devnet/config/src/config/test_data/public_full_node.yaml) && \
    curl -O [https://devnet.aptoslabs.com/waypoint.txt](https://devnet.aptoslabs.com/waypoint.txt) && \
    curl -O [https://devnet.aptoslabs.com/genesis.blob](https://devnet.aptoslabs.com/genesis.blob)
Open PORT
    apt install ufw -y
    ufw allow ssh
    ufw allow https
    ufw allow http
    ufw allow 6180
    ufw allow 80
    ufw allow 9101
    ufw allow 181
    ufw allow 182
    ufw allow 8080
    ufw allow 9103
    ufw enable
Update the 127.0.0.1 with 0.0.0.0 in the public_full_node.yaml — listen_address and api\address
sudo nano public_full_node.yaml
Replace 127.0.0.1 with 0.0.0.0 then save the file (Ctrl +O) and exit (Ctrl +X)
Install Tmux
apt install tmux
Call Tmux
tmux
Finally, start the fullnode via docker:
docker run --pull=always --rm -p 8080:8080 -p 9101:9101 -p 6180:6180 -v $(pwd):/opt/aptos/etc -v $(pwd)/data:/opt/aptos/data --workdir /opt/aptos/etc --name=aptos-fullnode aptoslabs/validator:devnet aptos-node -f /opt/aptos/etc/public_full_node.yaml
After the node is running you can detach tmux by hit Ctrl + B (at the same time) then let go → hit D
Now you can check your node running here: https://aptos-node.info/